The first time I hosted my portfolio on Azure, I’ll admit, I was a little nervous. The whole process sounded so technical at first, you know… resource groups, repositories, deployments… But to my surprise, it turned out to be so much easier than I expected and when my website finally went live, I just sat there, staring at it with a big smile. It felt amazing to see something I built show up on the internet.
If you’ve ever dreamed of having your own personal website, maybe a portfolio, blog, or simple landing page, Microsoft Azure gives you a quick and completely free way to make it happen.
In this article, I’ll walk you through exactly how to host your personal website on Azure, step by step that get you from “I think I can do this” to “Wow, I actually did it.”
Let’s break it down step by step and see how this works.
What Is Azure Static Web Apps?
Azure offers a service called Static Web Apps, and it is exactly what it sounds like. It’s designed for websites made up of static files like your HTML, CSS, JavaScript. These are called static because they do not need complex server-side processing or databases. There is no backend logic, heavy computation, or APIs running in the background.
That is why static sites are so easy (and cheap) to host, they are lightweight, efficient, and do not require much computing power.
Why the Free Plan Is Perfect for You
Azure’s Static Web Apps service has three plans: Free, Standard, and Dedicated. The free plan is perfect for personal projects, portfolios, or small business landing pages.
Here’s why:
- It is lightweight: Since your site only contains static files, Azure does not need to allocate expensive resources to run it. That is why they can offer it for free.
- It is reliable: Azure automatically stores your files and serves them quickly whenever someone visits your site.
- It integrates with GitHub or Azure DevOps: That means whenever you make a change to your website’s code, your live site updates automatically.
So, in short, you get free hosting, automatic updates, and enterprise-grade reliability, all in one simple setup. Not bad for a personal website.
Understanding the Limitations
Of course, the free plan comes with a few limits but nothing that should stop you from hosting. Let’s consider them:
- Limited Bandwidth and Storage: You get up to 100 GB of bandwidth per month, meaning you will have a monthly cap on how much data your visitors can download and how much space your files can take. But unless you are hosting large videos or getting thousands of daily visitors, you are unlikely to hit that limit.
- Limited Authentication Options: On the free plan, you can only use prebuilt login methods like Microsoft, Google, or Facebook. You can not create a custom authentication system. For most personal sites, though, you won’t even need login features.
- No Enterprise-Grade Edge Network: This just means your site won’t have the super-fast, globally distributed performance of the paid tiers. It is still accessible worldwide, it just may not load instantly in every region. This difference is hardly noticeable though.
- No Private Endpoints: These are advanced security features for corporate or private internal apps. You won’t need them for a personal project.
How to Set Up Your Own Static Website on Azure
Now that you know what it offers, let’s get your site online :)
Step 1: Prepare Your Website Files
Make sure you have your HTML, CSS, and/or JavaScript files ready. You can create a simple site with an IDE like Visual Studio Code or even Notepad.

Step 2: Create a GitHub Repository
Upload your website files to a GitHub repository. Azure will use this to automatically deploy and update your site whenever you push new changes.
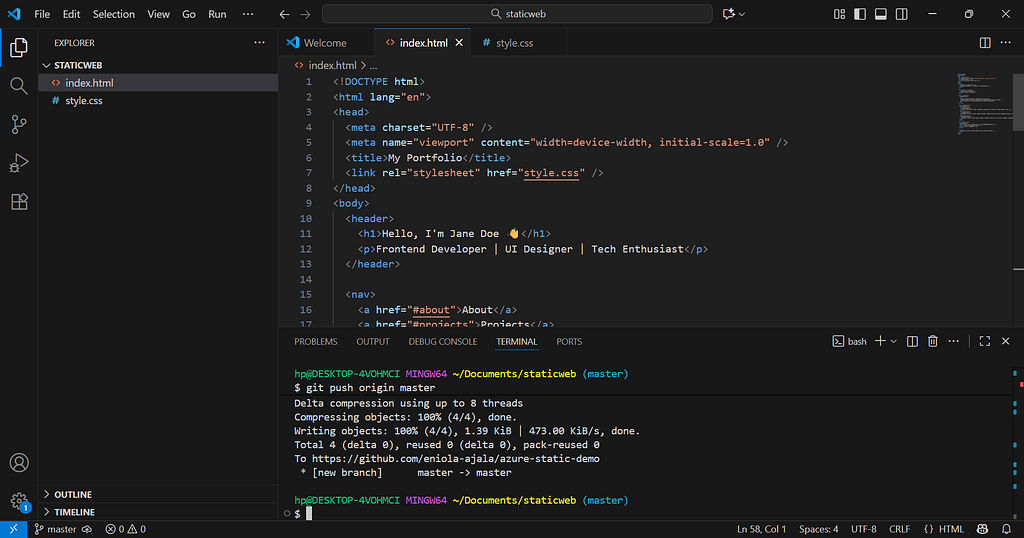
There are a number of ways to push (upload) your files to GitHub, you can do it directly on the website interface, through Visual Studio Code, or by using the terminal.
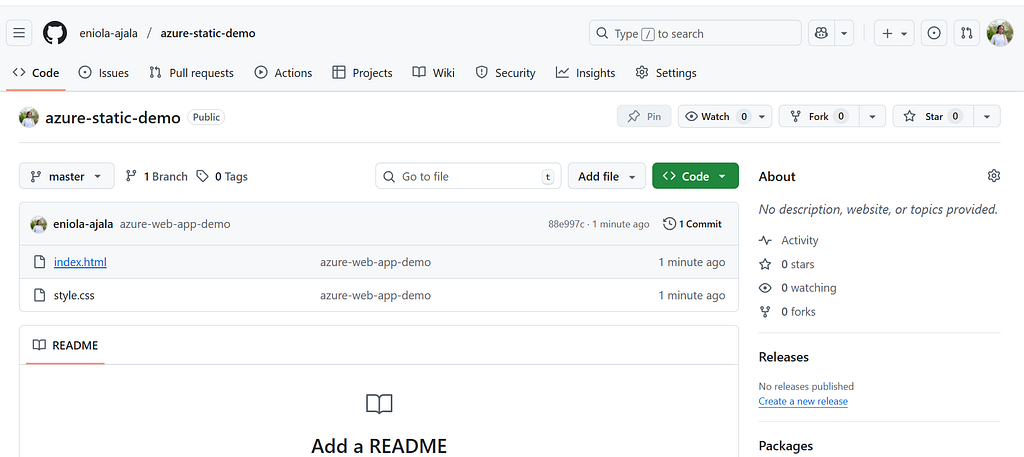
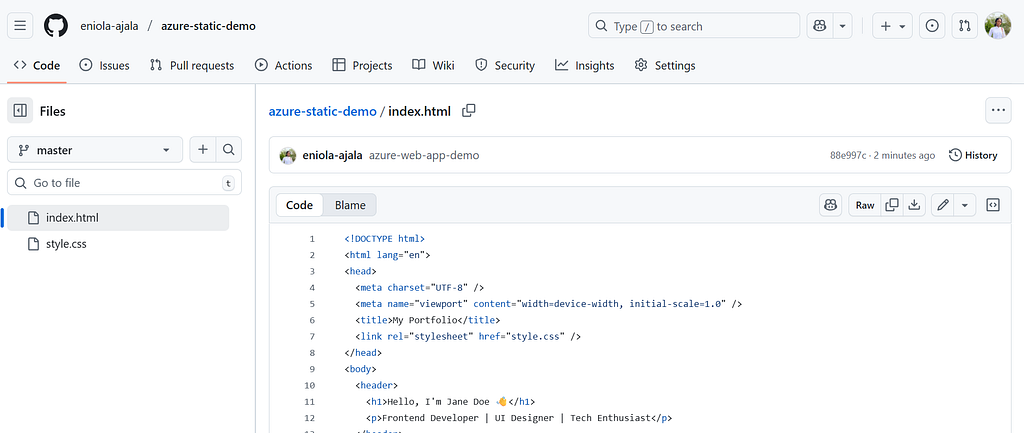
After pushing your files to GitHub, your repository should now contain all your website files just like this:
Step 3: Go to the Azure Portal
Head to Azure portal

On the homepage, click Create a resource then search for Static Web App and click Create.

Next, select your Azure subscription, and if you don’t already have one, create a new resource group. Give your website a name for example, demo-portfolio and choose the Free hosting plan if you don’t have any subscription.
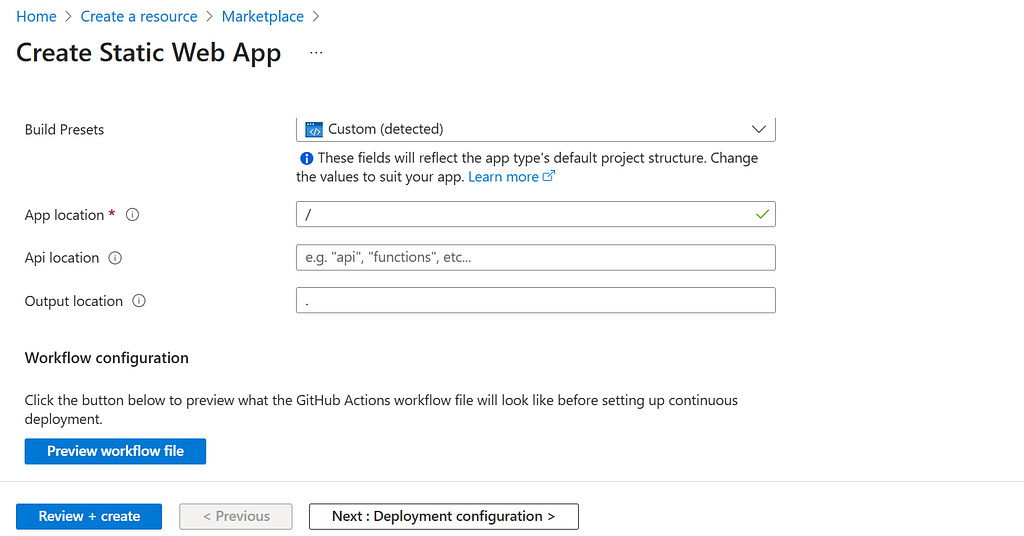
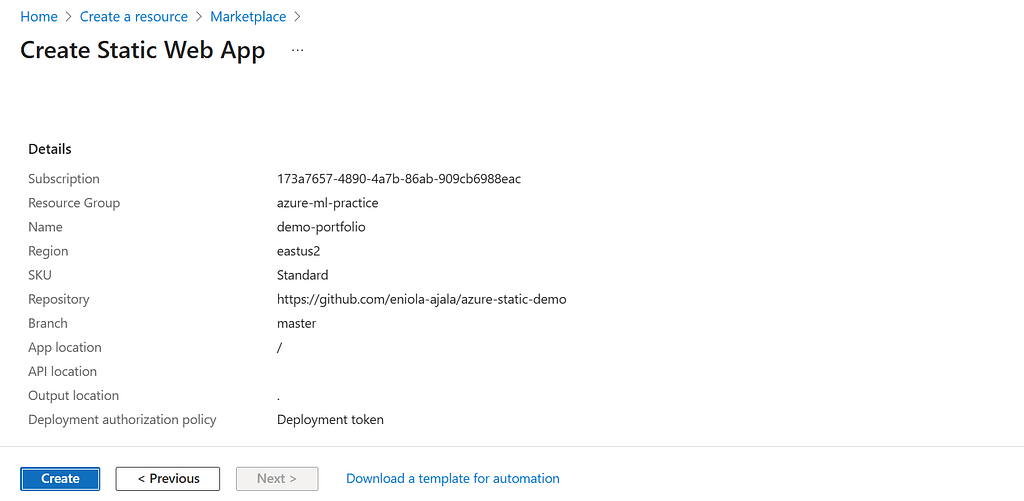
Under Deployment, select GitHub as your source provider, then sign in to connect your repository. Leave the build preset as it is, and when everything looks good, click Review + Create, then Create to finalize the setup.
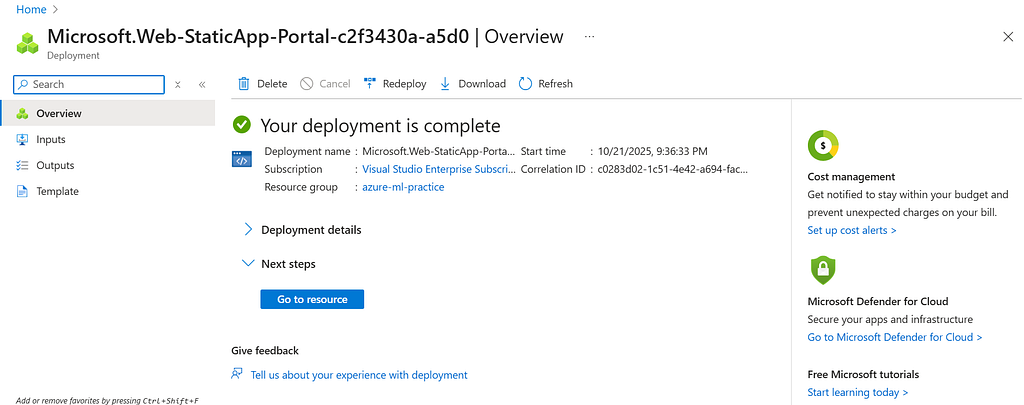
Wait a few minutes while Azure sets everything up. Once it is ready, click Go to resource.
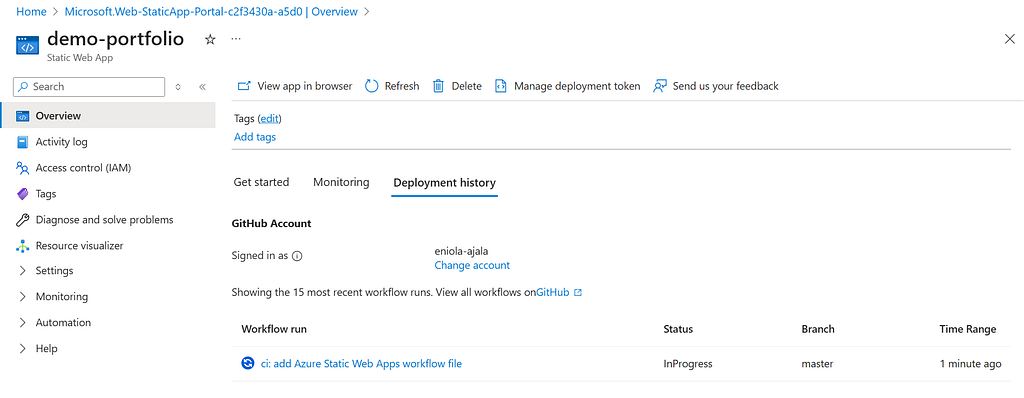
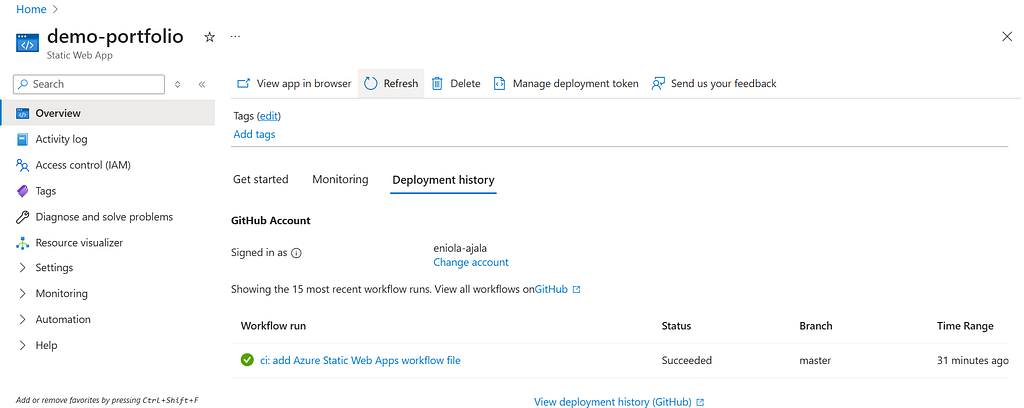
On the resource page, scroll down to the Deployment history. Here, you will be able to see the progress of your site’s deployment and confirm that Azure is building your project from the connected GitHub repository.

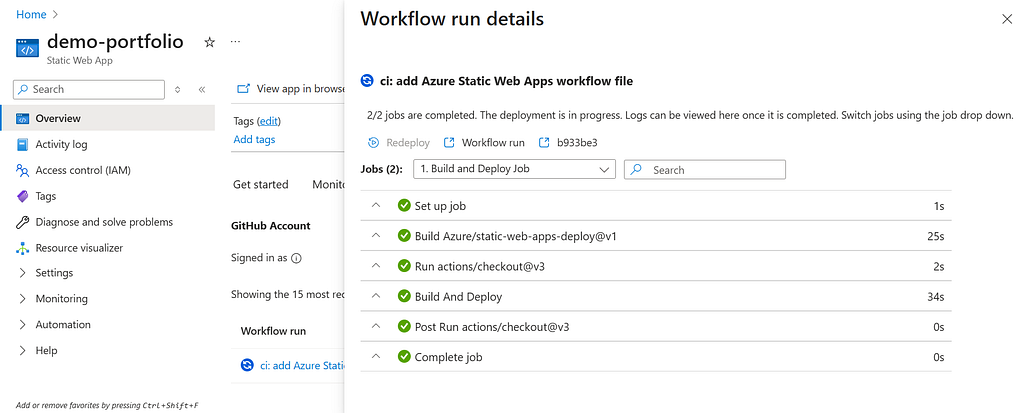
Step 4: Watch Your Deployment
At Deployment history tab, you will see Azure automatically building your website. This is where continuous deployment (CI/CD) happens, it ensures your site updates in real time whenever you make GitHub changes.
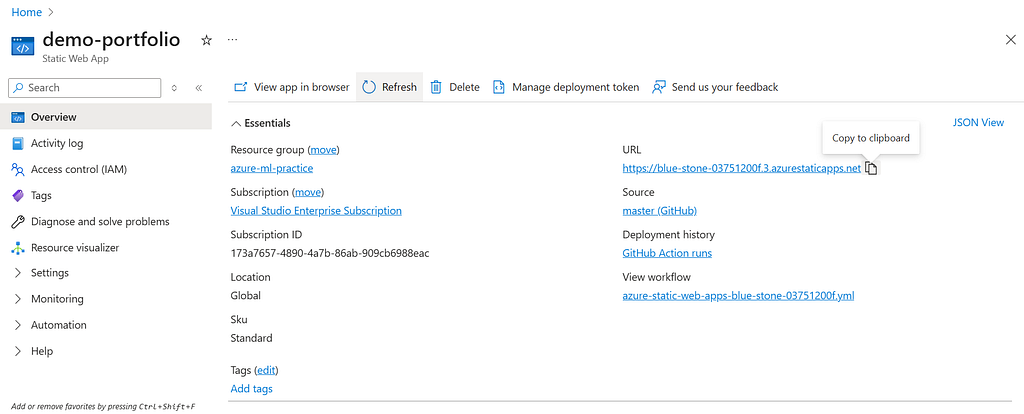
Keep refreshing until the deployment process is complete this may take a few minutes. Once it is done, you will see a generated URL for your live website.
Copy the URL and paste it into your browser to view your site in action.
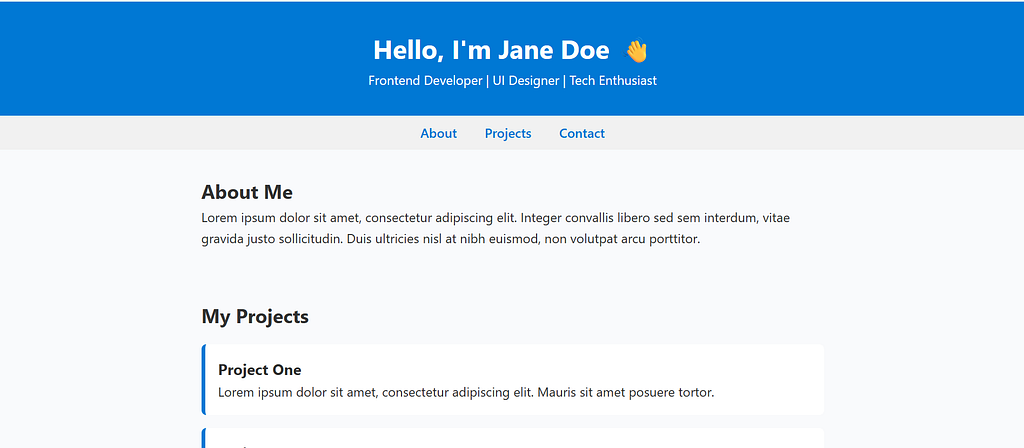
Congratulations your website is now live :)
You can now share this link with anyone, and they will be able to access your website from anywhere.
And there it is, our portfolio live on the browser. Pretty easy, right?
Step 5: Add a Free Custom Domain
You can also get a free custom domain on Azure, yes. In the left navigation pane, go to Settings and click Custom Domains. Then, select Add to create your own domain.
Even on the free plan, Azure lets you use up to two custom domains, that’s pretty cool to me.

And that’s it. We are done

Before You Go
Azure Static Web Apps is one of the simplest and most affordable ways to host a personal website. If you have been waiting for the right time to create your portfolio, this is your sign to do it. It is easier than you think and Azure’s free plan makes it effortless.
Were the steps easy for you? You can learn more about Azure by visiting Microsoft Learn. Also, follow and watch my page for weekly tutorials on Azure.
Cheers :)
How to Host Your Personal Website for Free on Azure was originally published in Towards AI on Medium, where people are continuing the conversation by highlighting and responding to this story.